Industrial Cleaning Services
For friendly & knowledgable help contact us on:
01924 495 975 hello@sonicsolutionsltd.com Open Contact Form
Here at Sonic Solutions Ltd, we have been running successful filter cleans for the past 15 years. Over that time we would say we have become experts in the field. Here is a 10 point checklist you can use yourself to perform thorough ultrasonic filter cleaning
- Check for damage
The first thing anyone should do after removing their filters from the process is to check for damage. There is no point in wasting time cleaning a filter that is going in the bin. - Remove loose debris
We usually pre-clean the filters with our jetwash. This removes any loose debris that would contaminate your ultrasonic solution. - Rinse off excess oil
Just the same as removing loose debris, if you are cleaning an oil filter, it is worth giving it a thorough pre-rinse to remove as much of the oil as possible. Having excess oil in the ultrasonic bath can lessen the cleaning effect and having the surface covered in oil means it will re-attach to the filter when it is taken out. - Find the right chemistry
The contaminant you are looking to remove as well as the material the filter is made from dictates what ultrasonic cleaning chemicals you would use. For removing oil from a stainless steel filter, we would use a caustic solution. If the filter had aluminium parts, we could not use the same solution, as caustic reacts with aluminium. In this case, we would therefore use a citrus-based solution.
For any guidance on chemical selection, please give us a call and one of our experts can help you make the right choice. - Ultrasonically clean with agitation
Once you have selected the right chemistry, place the filter in your ultrasonic bath and begin cleaning. The amount of time the filter will take to clean depends on how dirty it is. It is always a good idea to agitate the filter by swishing it around in the solution. This helps to dislodge any particulate that might be trapped within the filter mesh. - Check it’s clean
Once you believe the filter is clean, take it out of the bath and inspect it to make sure it’s clean. This can be done by visually inspecting the filter to see if it is free of contamination. Depending on how fine the mesh is, we also do a water test. By testing the flow of water through the filter before and after a clean, it gives you an idea of how much the filter has been unblocked and if there is free flow of water, you can generally say it’s clean. (this method only works for less fine screens. For gas filters we generally rely on a visual inspection) - Fully rinse the filter
After you are satisfied that the filter is clean, the next step is to rinse it to remove any loose particles and chemical residue left on the filter. When we clean filters on our site we use our high powered jetwash set to around 60 ͒C. - Drying
Once you are sure the filter is free from contaminants and your cleaning solution, it is time to dry the filter. Depending on the filter type, you have a few options.
– Air-dry overnight
– Blow off with compressed air
– Place in a drying cabinet/line
– Place in front of a heater
We have used all these methods in the past so it’s up to you to decide what is best for your job. You just need to make sure it is completely dry before placing back into process as water on the mesh can leave it not functioning right. - Final inspection and packing
Once they are dry, you should always perform a final inspection. This lets you assess whether the parts are completely clean and make sure they are not damaged. Although you inspected them for damage at the start, contaminants can hide small damage so it is best practice to check again before putting them back into process.
If the filters are not going straight back into process, it is a good idea to pack them securely to avoid them becoming dirty again while waiting for them to be put back in. - Stay up to date with cleaning
As a cleaning company, we see it all the time. Customers who run filters till they no longer work which makes cleaning so much harder. It is advisable to put your filters onto a regular cleaning program where they are cleaned periodically to avoid any unplanned downtime caused by your filters becoming blocked.
This list is a basic guide of what we do to ultrasonically clean filters which will help you get the best results from your clean. If you don’t want to or can’t take on the cleaning yourself, we are always here to offer our services and help you get your filters back to their best.
To book a Free Trial Clean or discuss your filter cleaning requirements with one of our expert staff. Call us today on 01924 495 975 or email hello@sonicsolutionsltd.com
Related Articles
XRF Scanning – Adding Another Layer of Insight
Over the past few months, we’ve noticed a new trend emerging in plastics recycling: the rise of what we’ve started calling “micro recyclers.”
read more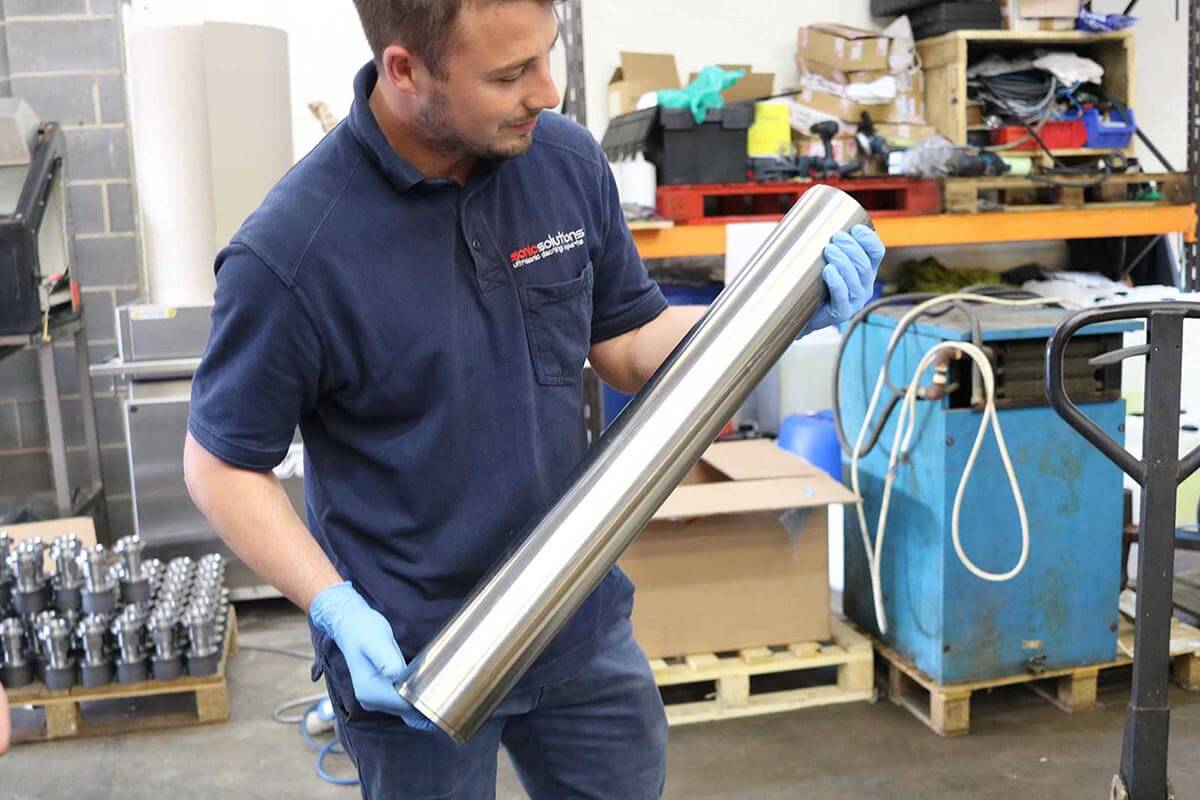
We’re Staying Hot on Health & Safety!